Shop peel and stick tiles
Browse the WOTILE range — peel, stick and refresh any room in minutes. See the best-selling designs or shop floor tiles.
Short answer: Subway tile is real ceramic — 3 by 6 inch glazed rectangles set in thin-set mortar with grout lines, and it lasts decades. A peel and stick backsplash is a self-adhesive tile sheet that goes up in an afternoon with a utility knife, no mortar and no grout. Subway tile wins on permanence and resale value; peel and stick wins on cost, speed, and the fact that you can take it off again.
| Factor | Ceramic subway tile | Peel and stick backsplash |
|---|---|---|
| Material | Glazed ceramic, typically 3 × 6 in | PVC, PU or PET self-adhesive sheet |
| Installation | Thin-set mortar, spacers, grout, sealant | Peel the backing and press |
| Time for a 4 m² backsplash | 1–3 days plus cure time | 2–4 hours, DIY |
| Skill required | Trade skill; layout and levelling matter | Measuring and cutting only |
| Grout | Required — and it stains | None — no grout lines to scrub |
| Cost of materials | Typically $3–$15 per sq ft | Typically $1–$6 per sq ft |
| Installed cost | Adds $8–$20 per sq ft in labour | $0 — you install it |
| Realistic lifespan | 20–50 years | 5–10 years indoors |
| Water resistance | Waterproof as a complete system | Water-resistant; seams are the weak point |
| Heat behind a hob | Fine | Keep clear of direct high heat |
| Removal | Demolition | Warm and peel |
| Best for | Forever kitchens, resale, wet zones | Rentals, quick refreshes, budget builds |
Cost and lifespan figures are typical retail ranges for North America and Europe. WOTILE prices sit below them because the tile ships factory-direct, with no importer or showroom margin in the chain.
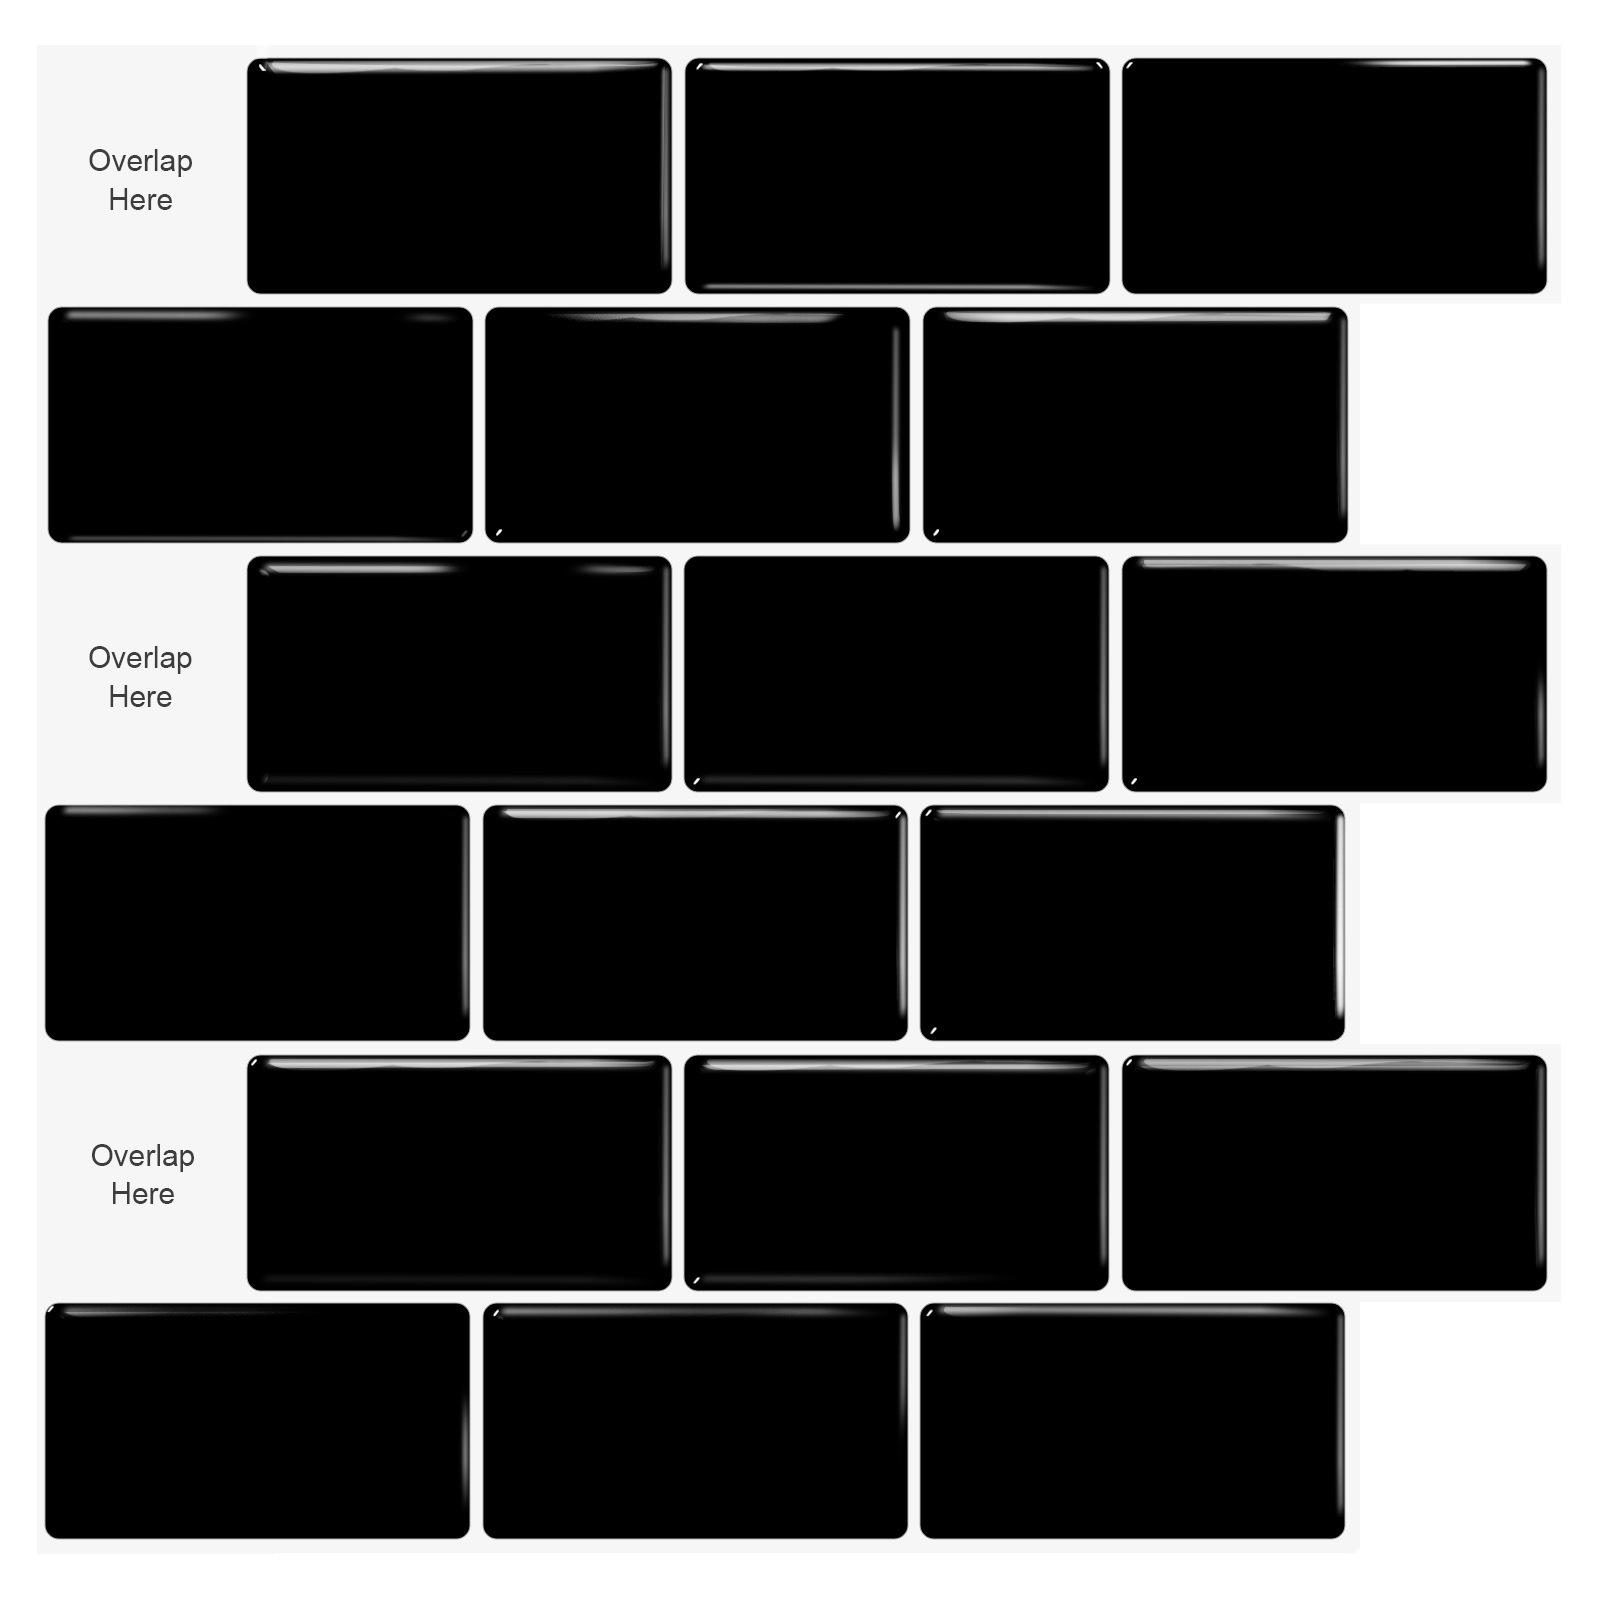
WOTILE subway backsplash tiles are polished PVC, 1–4 mm thick and 3 × 6 in per sheet, sold in 100-sheet boxes at $2.90 per sheet. Free shipping over $99, 30-day returns, CE/SGS compliant.
Permanence is the whole point of subway tile. Once it is set and grouted it is part of the building, and it survives decades of steam, grease and scrubbing. That matters in three places in particular:
The gap is not the material price — it is the labour. Ceramic typically adds $8–$20 per sq ft to install, which on a normal 4 m² kitchen backsplash is the difference between a few hundred dollars and a few thousand. Peel and stick removes that line entirely, and it removes the disruption with it: no dust, no curing time, no tiler to schedule.
It also wins on reversibility. If you rent, if you are staging a property, or if you simply change your mind about the pattern, a peel and stick backsplash comes off with a hair dryer and a putty knife.
From normal standing distance, a good subway-pattern peel and stick tile reads convincingly — which is why subway is the single most popular pattern in the category. Up close the difference is the grout line: real subway tile has a recessed joint, and peel and stick has a printed or embossed one. Run your thumb across it and you will know immediately.
If you want the joint to be real, you can set peel and stick tiles with a visible gap and run a bead of silicone at the perimeter to stop moisture tracking under the edges. Do not grout the face itself — the sheet flexes and the grout cracks.
Both finishes tolerate ordinary kitchen humidity and a bathroom vanity area. The line is direct heat and standing water. Keep any self-adhesive backsplash out of the immediate flame zone behind a gas hob, and do not use it as a shower wall. Everywhere else in a kitchen or a bathroom, it is fine.
Up close, no — there is no recessed grout joint and the face is printed rather than glazed. From normal standing distance a good subway-pattern peel and stick tile reads convincingly, which is why subway is the most popular pattern in the category.
Roughly $1 to $6 per sq ft against $3 to $15 for ceramic, before labour. Because ceramic usually adds $8 to $20 per sq ft to install, a typical 4 m² backsplash can go from a few hundred dollars to a few thousand.
Keep it clear of direct flame and the immediate high-heat zone. It is fine on the wall either side of the hob and above a splash guard, but for the panel directly behind a gas burner use ceramic or a heat-resistant sheet.
Water-resistant, not waterproof. The tile face is waterproof but the seams between sheets are not sealed. It suits kitchen walls, bathroom vanities and laundry areas, not shower interiors or shower floors.
No. If the existing tile is sound, degrease it thoroughly, fill the grout lines flush so the surface is flat, then apply over it and press down with a seam roller. Tiling over existing tile is one of the most common applications.
Five to ten years indoors on a properly prepared, smooth surface. Direct sunlight, sustained heat and constant moisture shorten that. Ceramic in the same position lasts twenty to fifty years.
Ceramic subway tile. Buyers treat real tile as a permanent upgrade and peel and stick as a finish. If resale is the goal and the budget allows, tile the splash zone and use peel and stick everywhere else.
No — grouting the face cracks as the sheet flexes. You can run a thin bead of silicone at the outer edges instead, which stops moisture tracking underneath without pretending to be a joint.
Browse the WOTILE range — peel, stick and refresh any room in minutes. See the best-selling designs or shop floor tiles.